

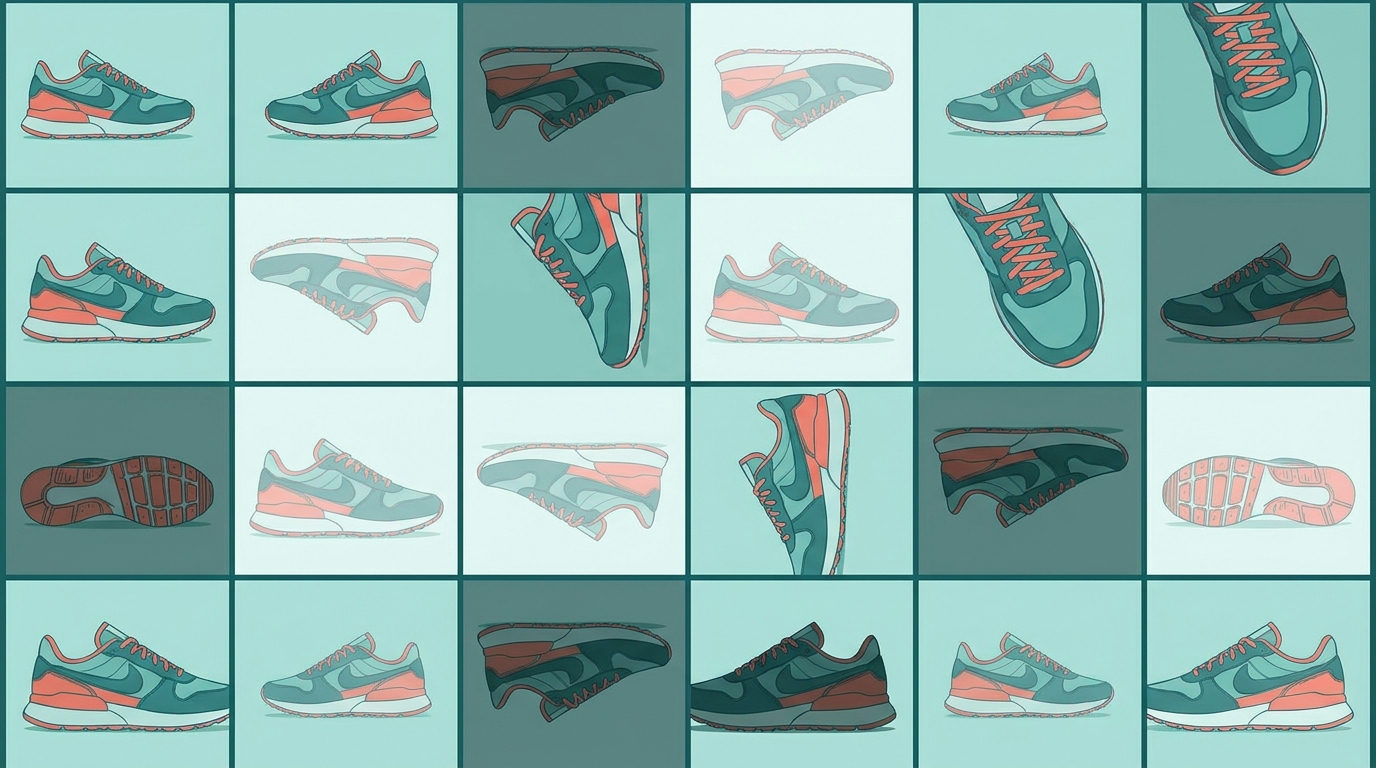
Image data augmentation is the practice of creating extra, slightly altered versions of your training images, such as flipped, cropped or colour-shifted copies, so a computer vision model learns to recognise objects under more varied conditions. It is one of the cheapest ways to improve a model trained on a small dataset, but it can also quietly damage results if the changes are unrealistic. This guide explains which image data augmentation techniques to use, how to apply them in TensorFlow and PyTorch, and how to tell whether they are helping.
What image data augmentation does
TensorFlow’s data augmentation tutorial describes the technique as a way to increase the diversity of your training set by applying random but realistic transformations, such as image rotation. Each time the model sees an image during training, it may see a different variation of it. Over many training passes, the model is pushed to rely on the features that stay the same, such as an object’s shape, rather than on details that happen to be constant in your photos, such as lighting or camera angle.
The key word is realistic. Augmentation should reproduce variation the model will meet in the real world. If your production camera is always mounted the same way up, training on upside-down images teaches the model something it will never need.
Common image data augmentation techniques
Most techniques fall into two families.
Geometric transformations
- Horizontal flip. Mirrors the image left to right. Safe for most natural scenes, but not for text, road signs with arrows, or anything where left and right carry meaning.
- Random crop and resized crop. Takes a random region of the image and resizes it. This teaches the model to recognise objects that are partly out of frame or at different scales.
- Rotation. Turns the image by a small random angle. Small angles suit handheld photos; large angles suit overhead imagery, where there is no natural “up”.
- Zoom, translation and perspective. Shift, scale or tilt the image to mimic a camera at different distances and positions.
Colour and quality adjustments
- Brightness, contrast and saturation changes. Help the model cope with different lighting and cameras.
- Blur. Mimics slight focus problems or motion.
- Noise. Mimics low-light sensor noise or compression artefacts.
Both major frameworks provide these as ready-made building blocks. The TensorFlow tutorial demonstrates Keras layers including RandomFlip, RandomRotation, RandomZoom, RandomCrop and RandomContrast. The torchvision transforms documentation lists geometric transforms such as RandomResizedCrop, RandomHorizontalFlip, RandomRotation and RandomPerspective, and colour transforms such as ColorJitter and GaussianBlur.
Automatic augmentation policies
Choosing and tuning every transform by hand takes time, so torchvision also offers automatic policies: AutoAugment, RandAugment, TrivialAugmentWide and AugMix. These apply a mix of operations at varying strengths, chosen by a learned or heuristic strategy. They are a sensible starting point for general image classification, especially when you have no strong reason to pick specific transforms. For specialised imagery, such as medical scans, satellite photos or industrial inspection, check that every operation in the policy produces images that could plausibly occur in your data.
How to apply augmentation in TensorFlow
The TensorFlow tutorial describes two ways to add augmentation:
- Inside the model. Put the augmentation layers at the start of your Keras model. The augmentation then runs on the same device as the rest of the model and is saved with it.
- On the dataset. Apply the layers with
Dataset.map, so augmentation runs asynchronously on the CPU while the GPU trains. The tutorial notes that layers applied this way are not exported with the model.
One detail matters a lot: the tutorial states that augmentation layers are inactive at test time, so images are only augmented during Model.fit, not during Model.evaluate or Model.predict. That keeps your evaluation numbers honest.
How to apply augmentation in PyTorch
In PyTorch, you build a pipeline with transforms.v2.Compose and pass it to your training dataset only, keeping a separate, augmentation-free pipeline for validation and test data. Torchvision’s documentation highlights that the v2 transforms can transform images together with their annotations, such as bounding boxes and segmentation masks. That matters for detection and segmentation: if you flip an image but not its box labels, the labels end up describing the wrong place.
A sensible first training pipeline for a classifier might be: random resized crop, random horizontal flip, mild colour jitter, then conversion and normalisation. The validation pipeline would only resize, centre crop and normalise.
Choosing image data augmentation for your project
Instead of copying a recipe, work from the variation your model will actually face.
- List the real-world differences. Different lighting? Different cameras? Objects at different distances? Partial views? Each of these maps to a transform.
- List what must never change. If colour carries meaning, such as ripe versus unripe fruit, avoid strong hue shifts. If orientation carries meaning, avoid flips and large rotations.
- Look at the results. Save a grid of augmented images and inspect it. If a person could no longer label an image correctly, the transform is too strong.
- Start mild, then increase. Begin with flips and small crops, train, and add or strengthen transforms one at a time.
- Compare against a baseline. Train once without augmentation and once with it, on the same split, and compare validation results.
A worked example: a small product-photo classifier
Imagine you are training a model to sort a few thousand product photos into categories for an online catalogue. The photos come from several suppliers, so lighting, backgrounds and framing vary, but every product is photographed upright.
- Keep: random resized crops, because suppliers frame products differently; horizontal flips, because most products look the same mirrored; mild brightness and contrast changes, because studio lighting varies.
- Skip: vertical flips and large rotations, because no supplier shoots products upside down; strong hue shifts, because colour is part of how shoppers tell products apart.
- Check: any category where printed text on the packaging matters, since flips mirror the text. If the model leans on that text, turn flips off for that category or for the whole dataset.
Train a baseline without augmentation, then add this pipeline and compare validation results on the same split. If one category gets worse, look at a grid of its augmented images first; the cause is usually visible.
Signs augmentation is helping, or hurting
- Helping: the gap between training and validation performance narrows, and validation results improve or hold steady. This is a sign the model is generalising rather than memorising the training images.
- Hurting: both training and validation performance drop, or one class gets noticeably worse. Usually a transform is destroying the information that class depends on.
- No change: the dataset may already be varied enough, or the bottleneck may be elsewhere, such as label quality.
Augmentation is one tool against overfitting, alongside more data, regularisation and early stopping. Our machine learning hub covers those training basics in more depth.
Common mistakes to avoid
- Augmenting validation or test data. This makes results noisy and hard to compare. Keep evaluation data unaugmented.
- Forgetting the labels. For detection and segmentation, transform boxes and masks with the image.
- Augmenting before splitting. If augmented copies of one photo land in both training and test sets, the test score will be inflated. Split first, then augment only the training set.
- Treating augmentation as a substitute for data. It stretches a dataset; it cannot add situations that are completely missing from it.
For more practical guides on building and deploying vision models, visit our computer vision hub.
Key takeaways
Image data augmentation creates realistic variations of your training images so a model learns the features that matter instead of memorising incidental details. Use geometric and colour transforms that match the variation your model will meet, keep anything that carries meaning unchanged, and inspect augmented samples by eye. Apply augmentation to training data only, transform labels along with images for detection and segmentation, and measure the effect against a baseline before you keep it.
Written by the TechZone AI Editorial desk.






Leave feedback about this